VMware ESXi setup is available to download on VMWare website. It is a hypervisor that allows you to create and manage virtual machines on a physical server. It is an enterprise-class platform that helps organizations manage and deploy applications and services more efficiently with a better control over infrastructure.
ESXi runs directly on server hardware, which makes it very fast and secure. It supports a wide range of operating systems, applications and it allows multiple virtual machines to run on a single physical server. Moreover ESXi is easy to manage, thanks to its web-based interface, and it can be used with different management tools. VMWare ESXi host is also scalable in terms of workload, which means you can add or remove virtual machines as needed. Overall, VMware ESXi is a powerful and flexible platform used broadly by hypervisor administrators for managing different flavors of virtual machines.
Installing VMWare ESXi host is a must to understand for VMWare administrators. Here is a step-by-step guide that will explain you how to install VMWare ESXi host. In this example, we are using ESXi host 6.7.0.
First of all download the VMWare ESXi setup ISO from official website (http://customerconnect.vmware.com/downloads). Then burn it into a USB/DVD and boot your server using this media.
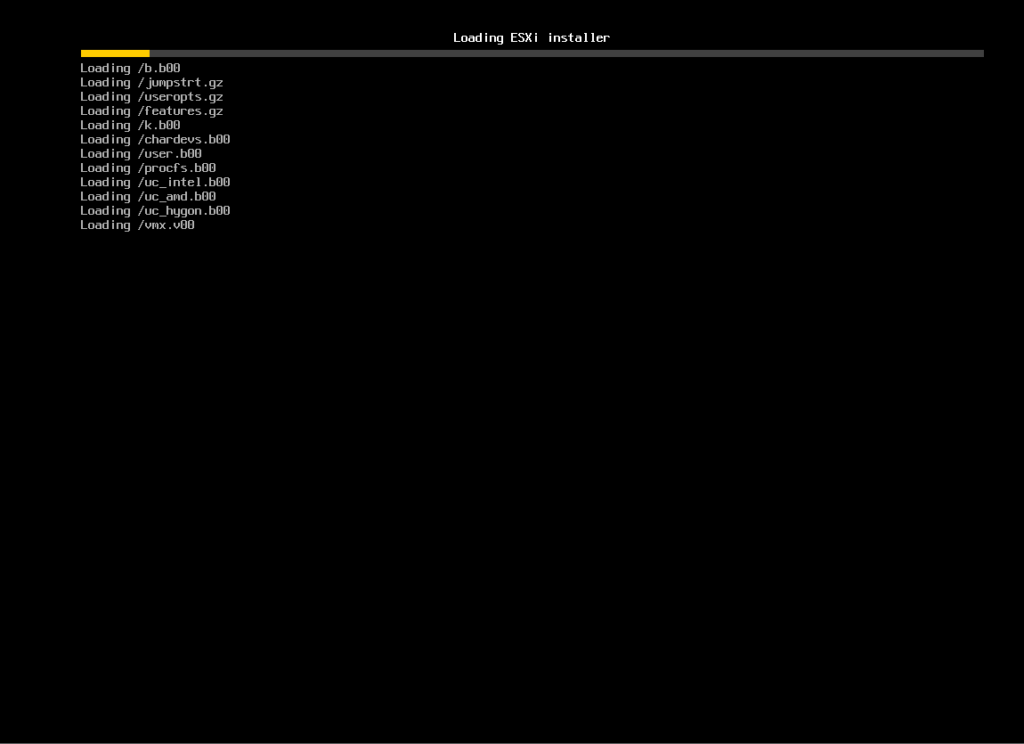
The following message will appear on your screen. Just wait for a couple of minutes, the system will start installation on its own.
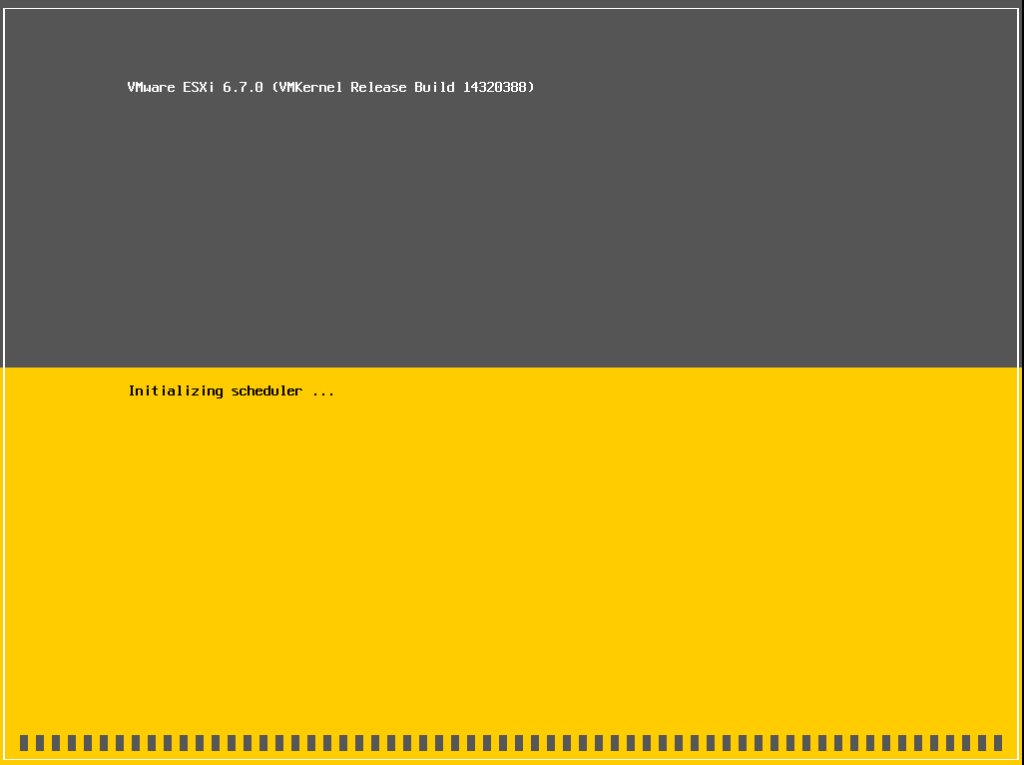
Press enter. It will continue installation process.

Press F11 to accept the VMWare agreement.

The system will show you storage that will be used by hypervisor. In most of the cases, it is the hard disk of your server. However it could be USB, any storage card or external storage depending on your storage infrastructure. In our case its a 40 GB hard disk. Press enter to continue.

Select a keyboard type, Then press enter.

Set a root password for hypervisor and hit enter. Type it twice. Remember this is like a master (root/administrator) password for ESXi server that will be required later.

The installer will ask you to repartition the hard disk. Press F11 to continue.

it will start the installation process, it will take few minutes to complete.

Your installation is complete now. Now you can dismount the installation media and hit enter to reboot.

Before using VMWare hypervisor, we need to give it a management IP address. Next for IP assignment press F2 (as shown in the left bottom of screen).

At the step you will be asked to authenticate. Use root as your username and password you set previously. Hit enter.

Using down arrow select “Configure Management Network” option and press enter.

Next select “IPv4 Configuration”.
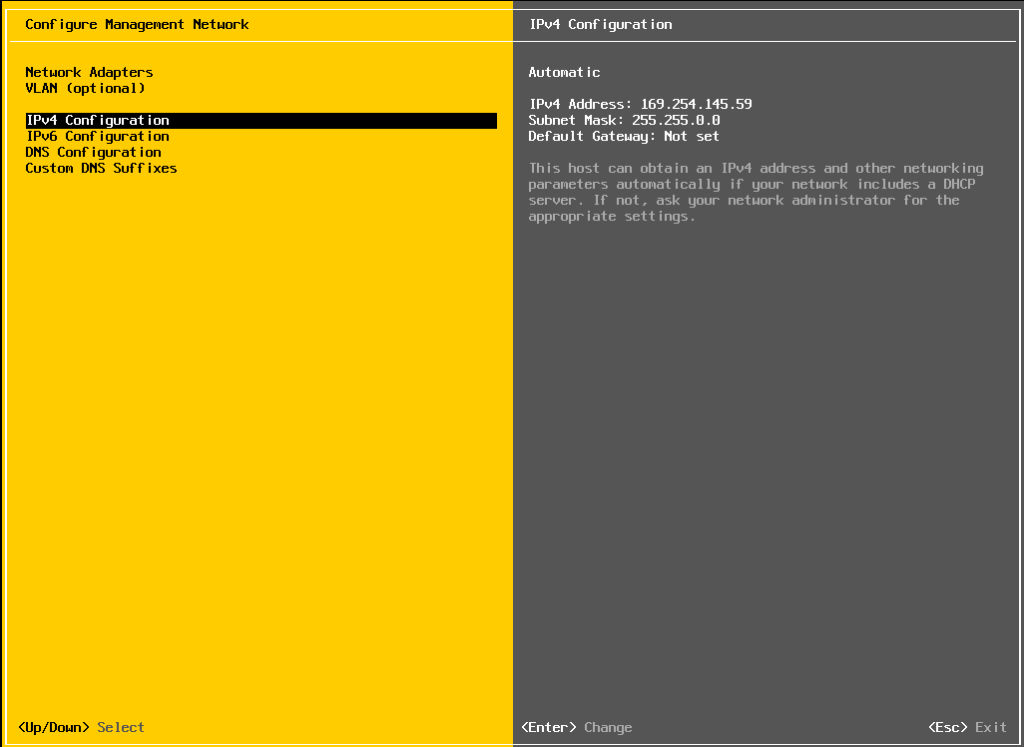
Give it an appropriate IP address, subnet mask and default gateway IP as per your network configuration. Now hit enter.

At the end VMWare will ask you to apply changes and restart the management network. Then press Y (for Yes).
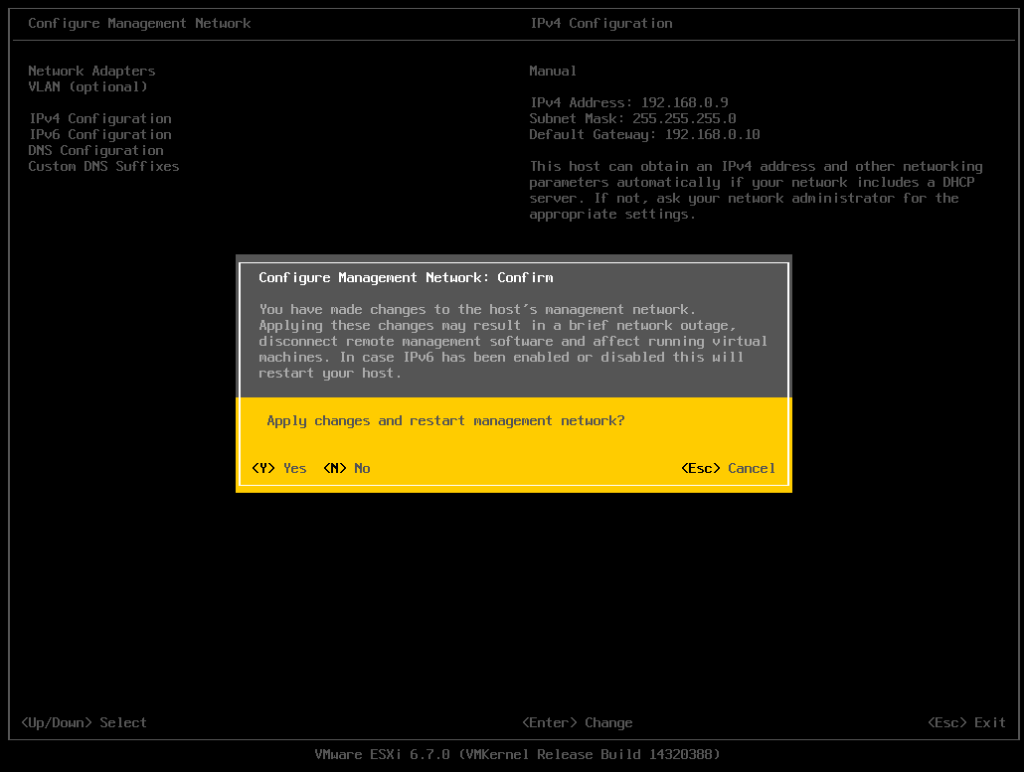
Use escape key and come back to the home screen. Now you will find the IP on home screen that you just configured.

Before login, in order to check the successful reachability of VMWare ESXi host you can ping it anywhere from any network device.

Lastly to login manage the VMWare Host. you need can use any supported web browser to access console. In our case its http://192.168.0.9. The web browser may ask your a certificate related warning. Please accept the certificate since it is default certificate. (Although you can change it later if you want). Enter the username “root” and password and click login.
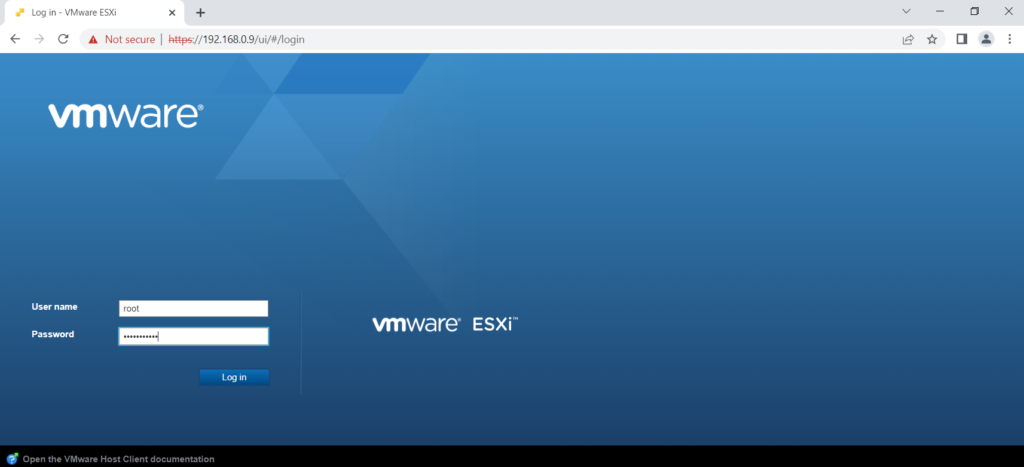
Congratulations. Finally you understand how to download and install ESXi setup and your hypervisor is ready to host virtual machines.
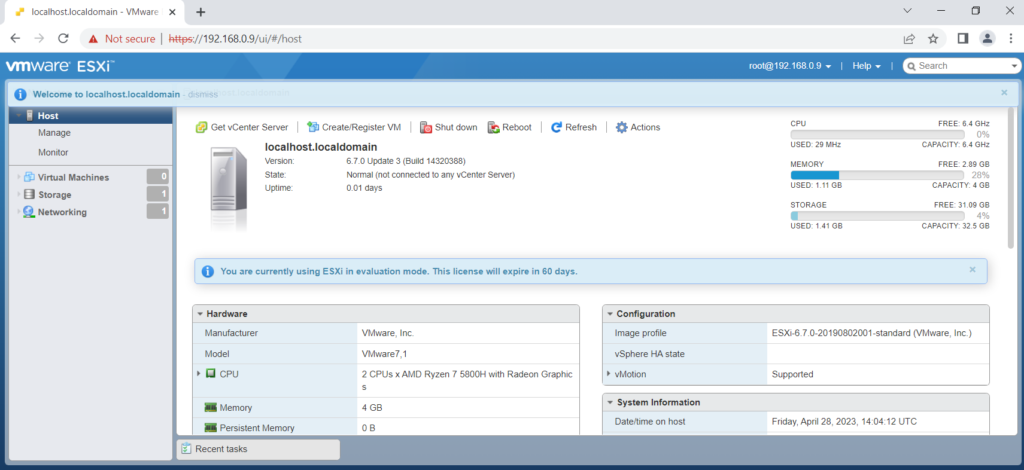
You can go through the our article “How to install Windows Server” if you want to install server on top of it.
Similarly if you are interested in client side operating system Windows 10 installation, you can follow “How to install Windows 10“.
-
Install DNS Server In Windows
Before we install DNS server, its essential to understand what exactly a DNS service is? A Windows DNS server is…
-
Extend Logical Volume in Windows 10/11 or Server
Users and administrators often face diskspace shortage issues. Lets learn how to extend logical volume and fix it.



Leave a Reply