Users and administrators often encore a situation when existing diskspace is not enough in a partition. As Windows administrator, you must be aware with the process to how to extend the logical volume. Basically its a three step process.
- Add diskspace.
- Extend the logical volume (Using windows disk management tool).
The crucks of the whole article is point number 2 (Extend Logical Volume). First point maybe different in different environments. If you have a physical storage, your storage administrator will add diskspace from backend storage. If you have unallocated free diskspace. It will be reflected in your windows disk management as unused disk. If you have a virtualized environment (VMWare or Hyper), you can change the disk size from hypervisor layer. We don’t not have a single answer for the first point. (However we have covered the disk size setting for VMWare environment in the end of this article).
Now regarding second point of extending logical volume. In this example, we are going to extend a 40 GB Hard disk to 45 GB using VMWare virtual environment and Windows Server 2019 Standard operating system. The process is same for all other versions including windows 10 and 11 etc.
Extend Logical Volume Windows
Power on the machine and open server manager.
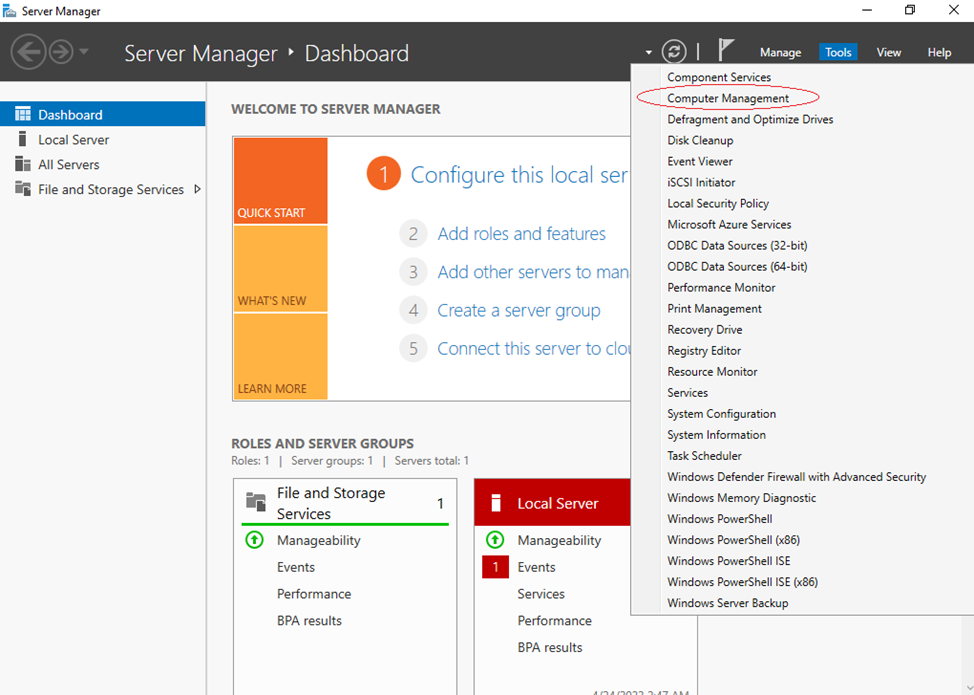
Open computer management and go to disk management.
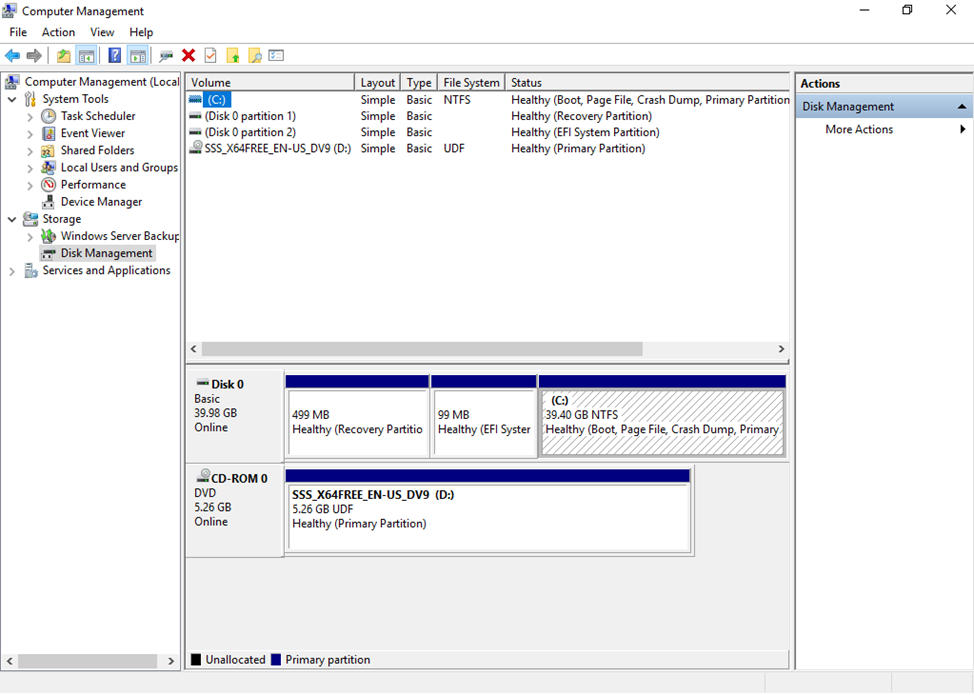
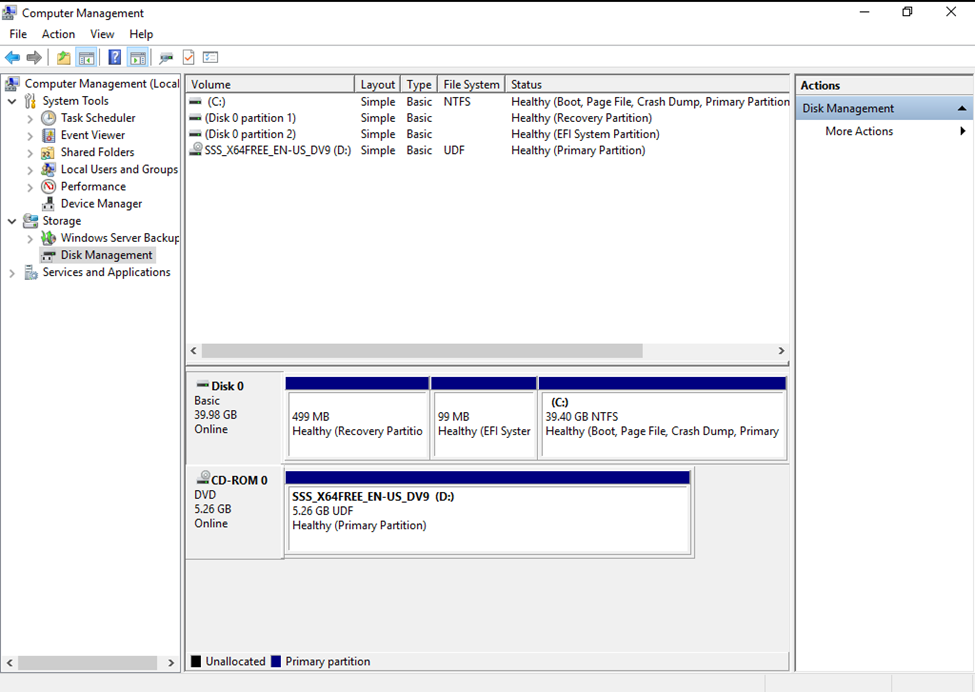
Select the appropriate disk (Disk 0 in this case) and click on refresh. If it was done by your storage settings, you will see new disk size after refresh.
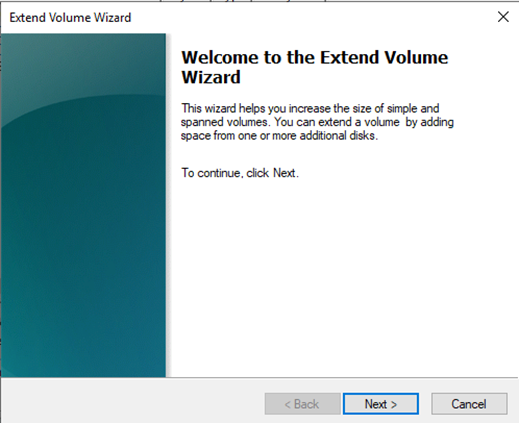
Right click the disk drive and select extend volume.
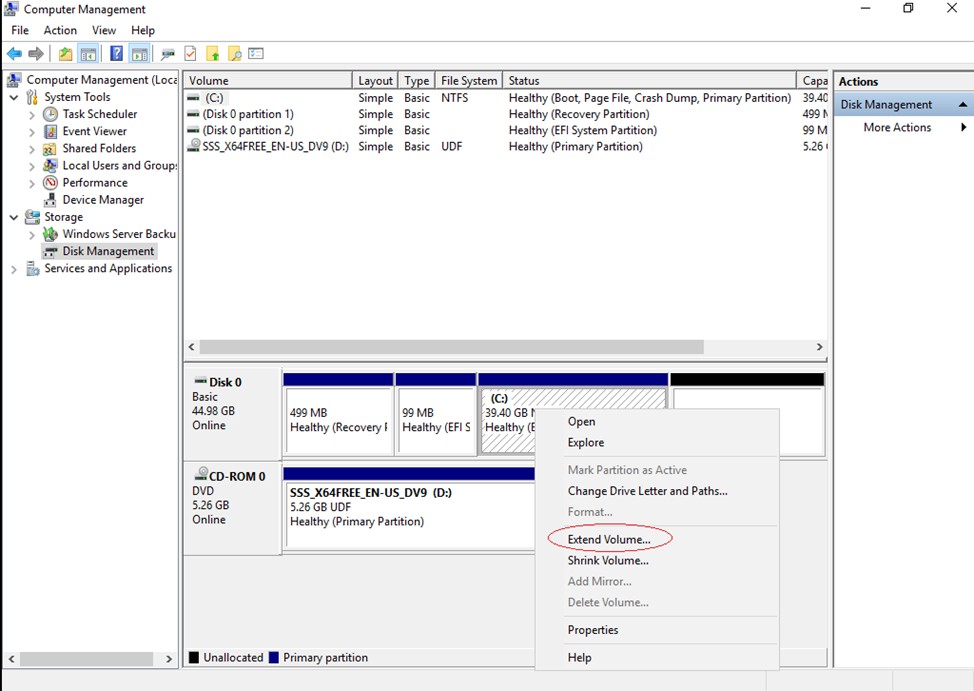
Click next.
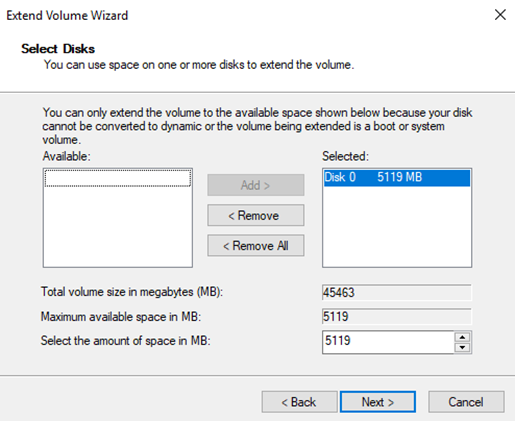
Add the available disk and click next.
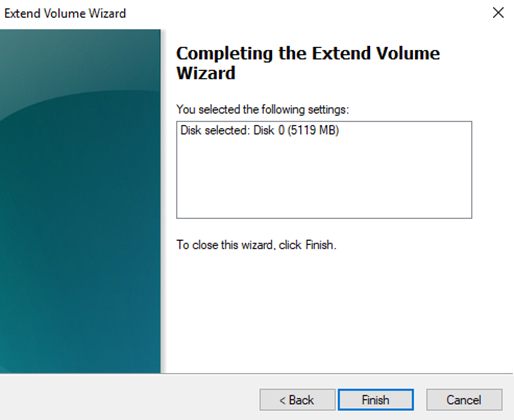
Click finish and your disk is ready.
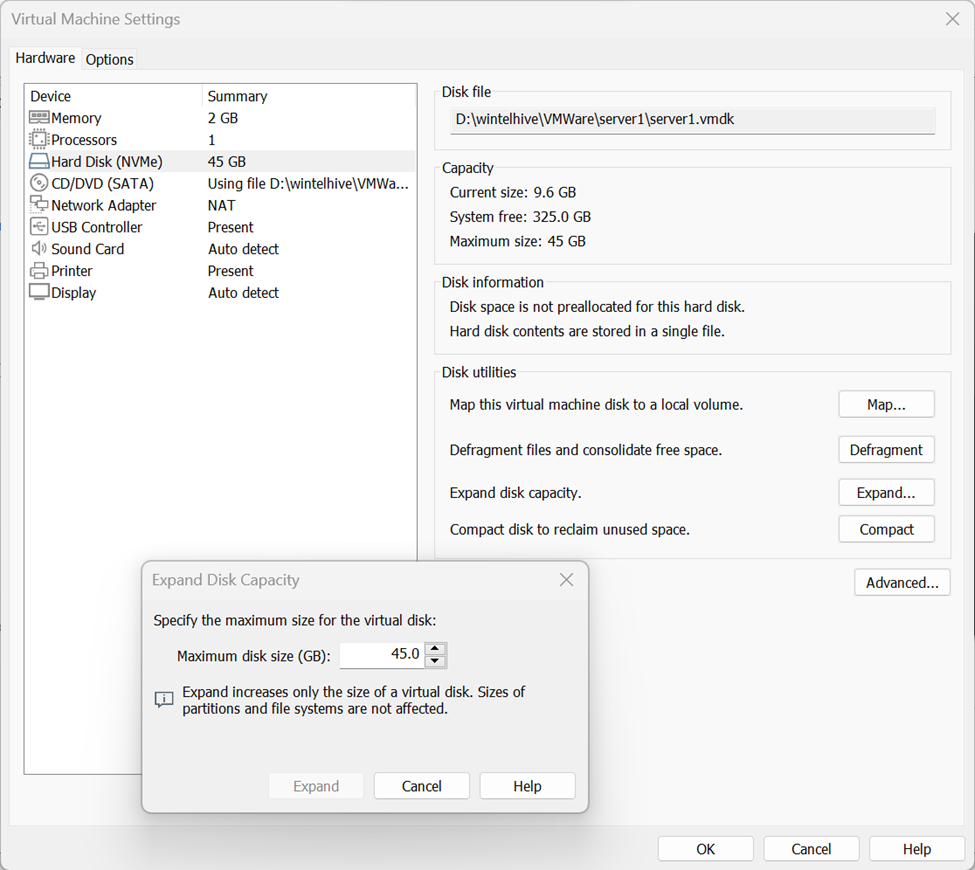
VMWare Disk Size Settings
In case of enterprise environment using storages, VMware or Hyper-V your storage or hypervisor administrator need to extend the disk first. In this example we are using VMWare. Your scenario might be different. However process remains same. Use the option extend disk capacity and enter the new size. This will increase the size of existing disk to 45GB. Consult your storage admin if needed.
You see extend disk partition process was so easy. However there are complicated case as well. When you need to shrink the partition, claim some diskspace and add same same to another volume or partition. It my not be possible with windows default disk management tool. For such advance options you might require third party tools. If you want to go through that process to “Resize Windows partition“. You can read it.
Frequently Asked Questions (FAQ)
To extend a volume,
1. There must be some unallocated diskspace available right next the to exiting partition. If there is no diskspace or its not contiguous. Option will be grayedout.
2. Another reason is you maybe using old file system like FAT32. It can handle up to 32GB only. Consider using NTFS.
3. Last you maybe using MBR disk which has a limitation of 2 TB. Consider using GPT for bigger disk size.
Yes same method can be used to shrink the existing volume as well.
-

Resize Partition Windows 10/11 or Server
Learn how to resize partitions on Windows 10, 11 or Server with simple steps to optimize disk space and performance.
-

Install VMWare ESXi Host
VMware ESXi setup is available to download on VMWare website. It is a hypervisor that allows you to create and…


Leave a Reply