Install and configure DHCP server is a skill that every windows server administrator must have. DHCP (Dynamic host configuration protocol) is a protocol that is widely used for automatic IP assignment and better IP addresses management of IPv4 and IPv6 devices on a network. In most of the corporate networks, IPv4 is used. So we will be doing same in this example. If you are a new and does not understand the fundamentals of DHCP, please have a look on “What is DHCP server“.
The process to install and configure of DHCP server in windows is very simple. Here in this guide, we will take you step by step using one DHCP server and one workstation/client. We are using Windows server 2019 standard as server (server1) and Windows 10 as workstation (workstation1). Before installing you must remember DHCP server itself must have a static IP address. It is 192.168.0.1 in our example. DHCP server support both IPV4 and IPV6. In this article will be using IPV4. Followings are the three main parts of this article.
- Install DHCP server.
- Configure DHCP server.
- Workstations settings.
Install DHCP Server
Open server manager. Then click on add remove features from manage menu.

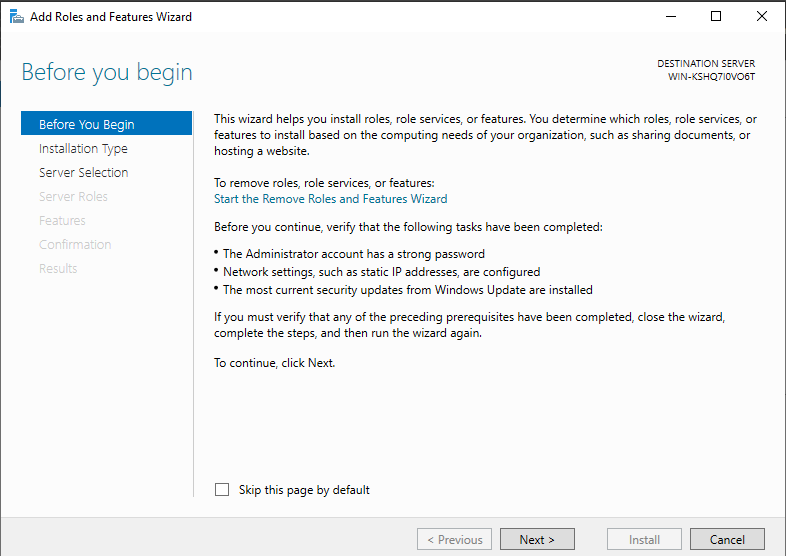
To continue, click on next button.
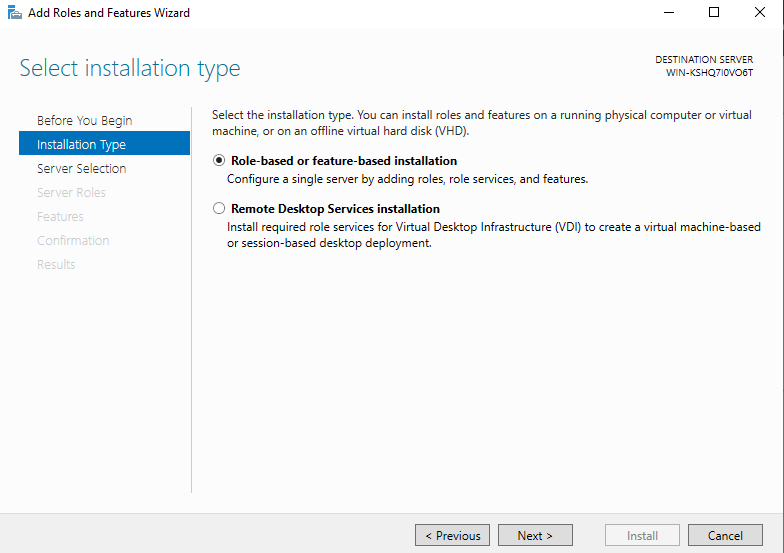
Select Role-based or feature-based installation and click next.
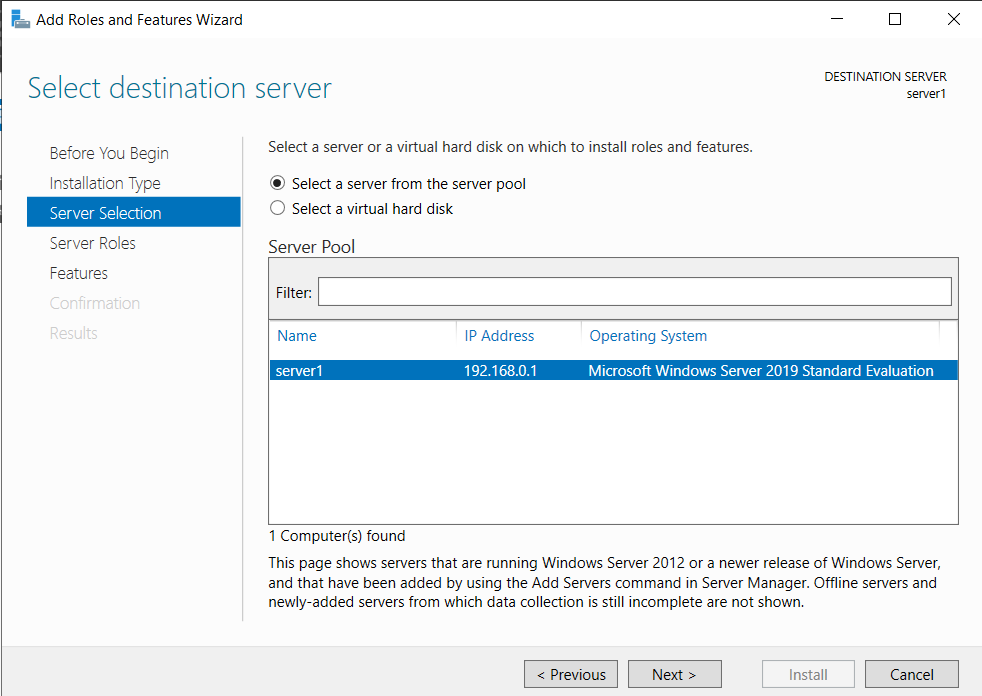
Select the server from the list and click next button.
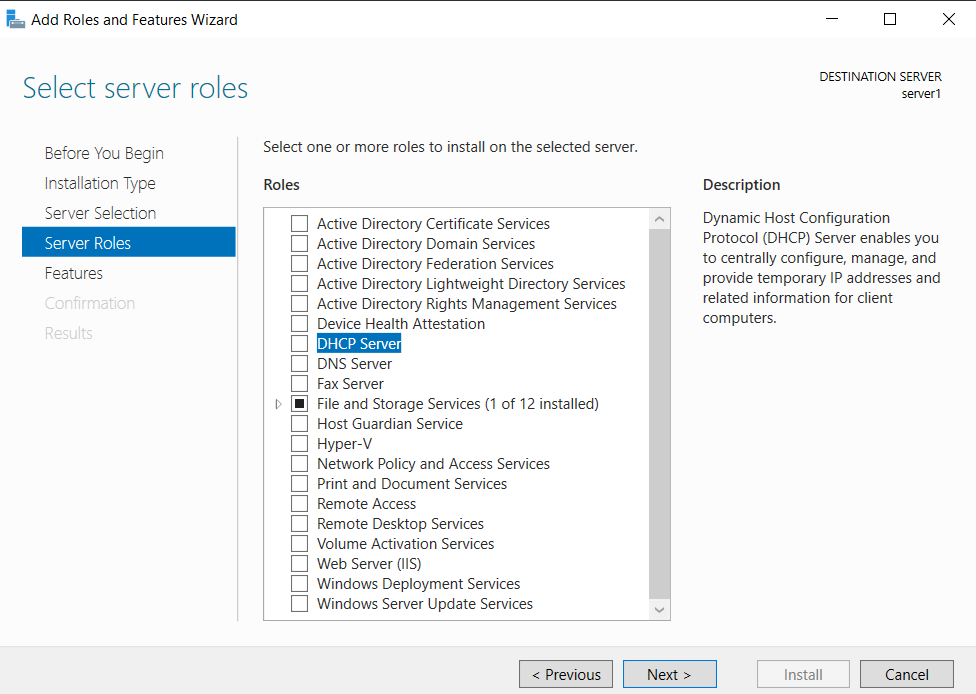
Check the DHCP server option and click next.
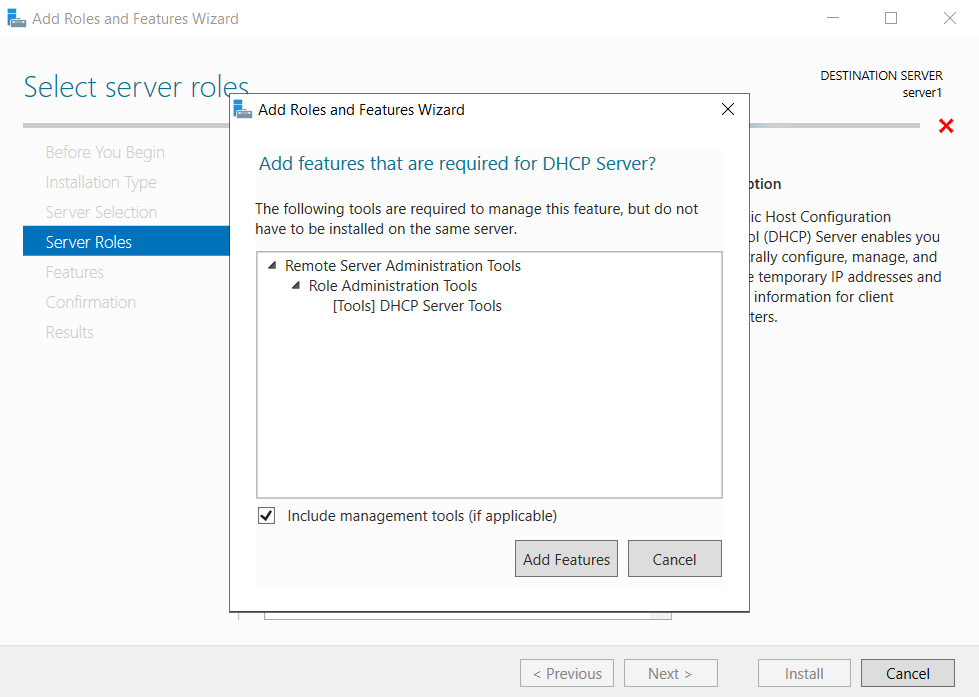
System will ask you to add few features that are required along with DHCP server. Click on “Add features”.
Click next button.
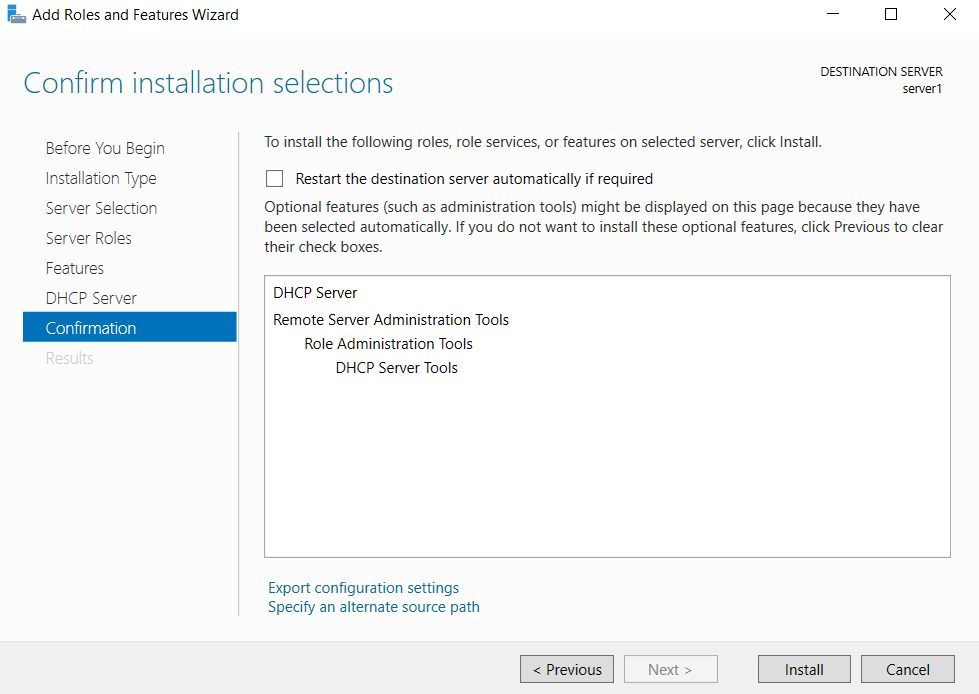
Following message will appear. Click on next.
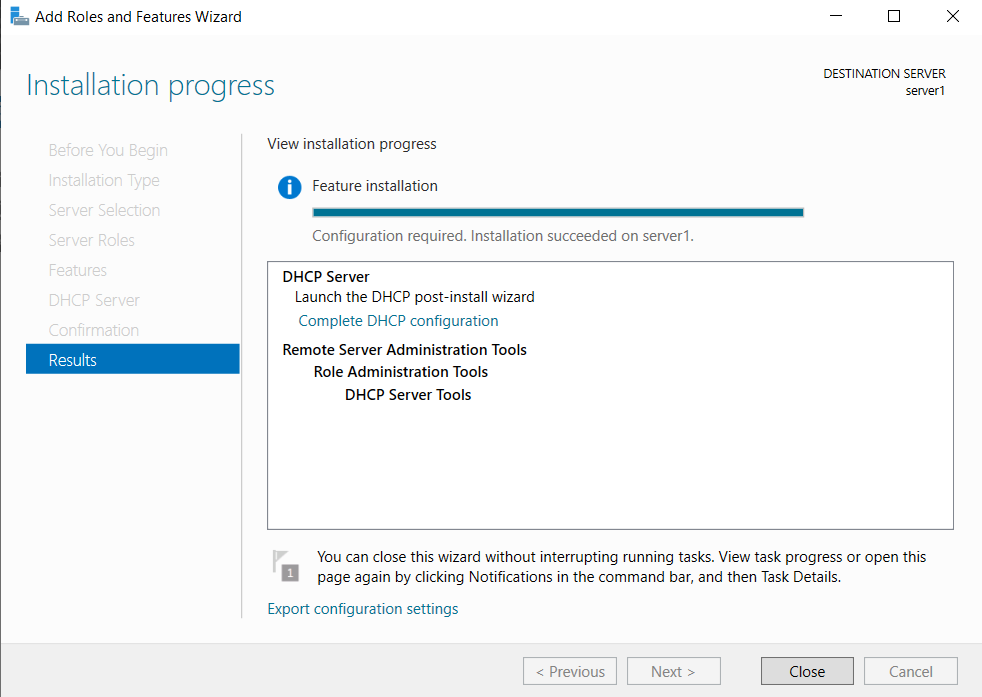
Click on install.
System will start the installation. Then wait for a couple of minutes and click close.
Configure DHCP Server
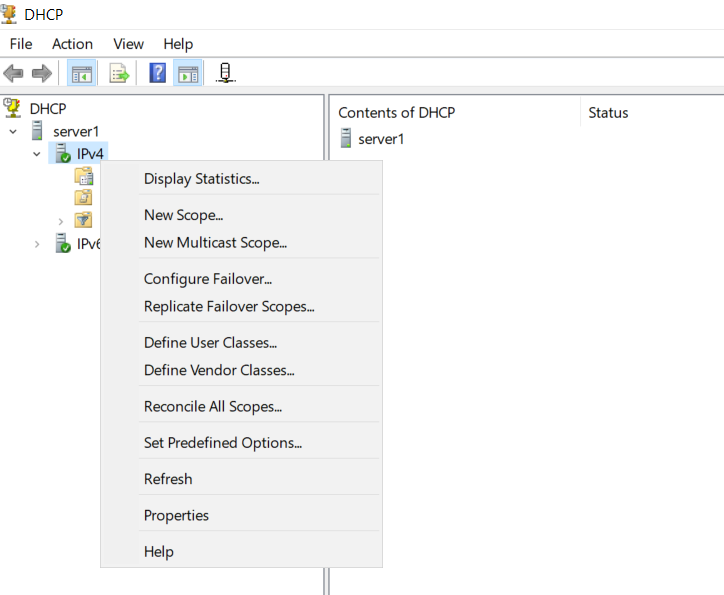
Now we will create a IP pool called scope. Later workstations machines will obtain IP through this scope. First open DHCP console. Secondly right click the IP V4 and select option “New Scope”.
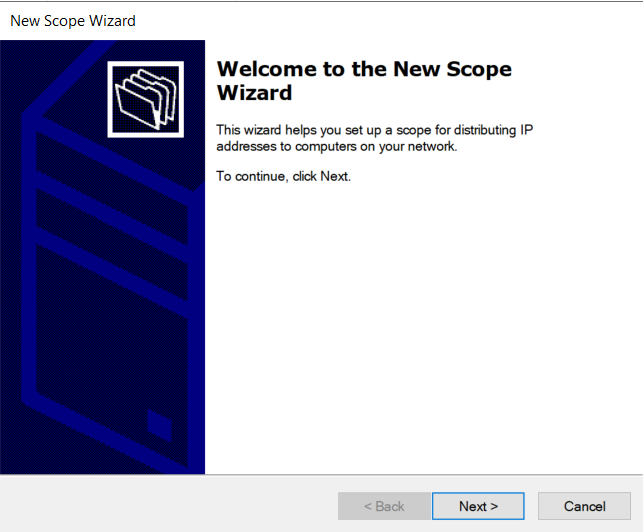
A wizard for new pool creation will start. Click next.
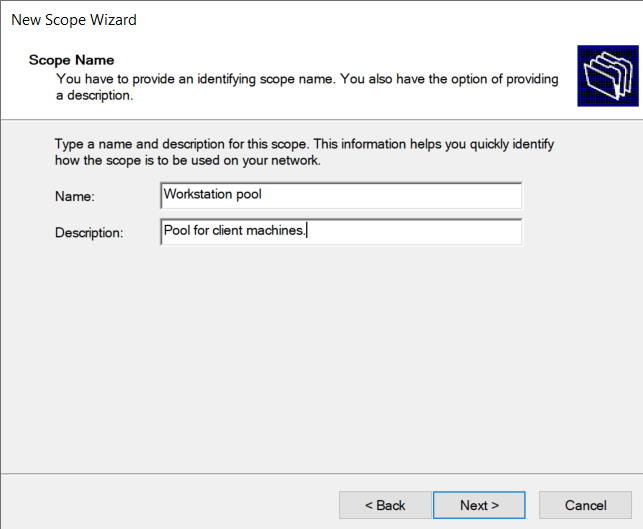
Give a a appropriate name and description and click next.
Give a starting IP (192.168.0.1) and ending IP (192.168.0.255). Then length and subnet mask will be automatically calculated. Moreover this setting is for or test environment only. In real you can adjust it as per your own network infrastructure.

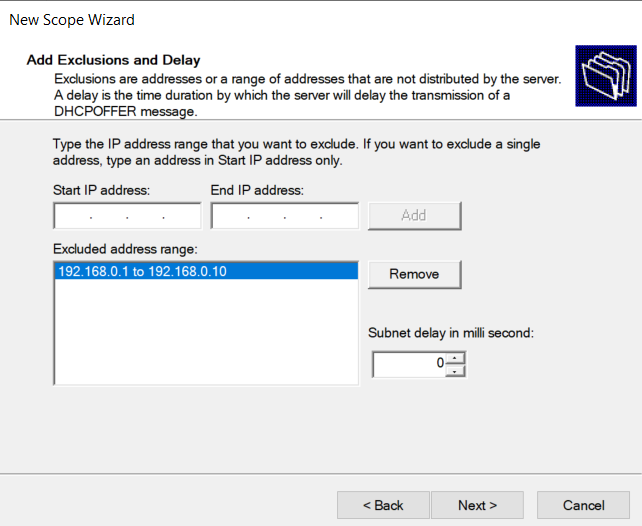
Select the IP addressed you want to exclude from pool. First few IP addresses are excluded normally for servers and static devices etc. We are going to exclude first 10 IP addresses in the case.
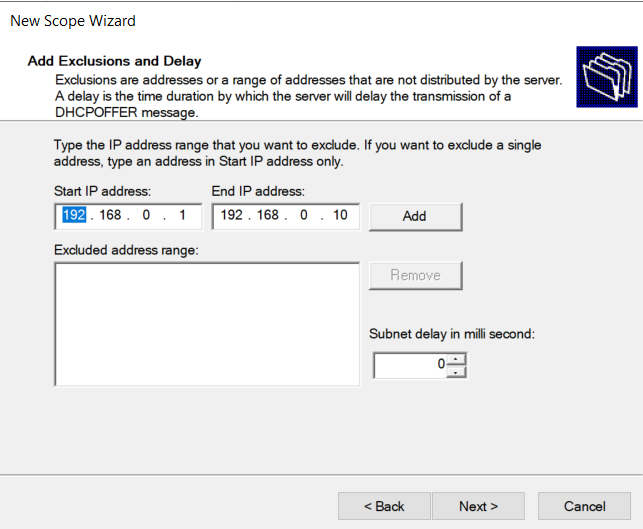
Click on add button for exclusion. Then click next.
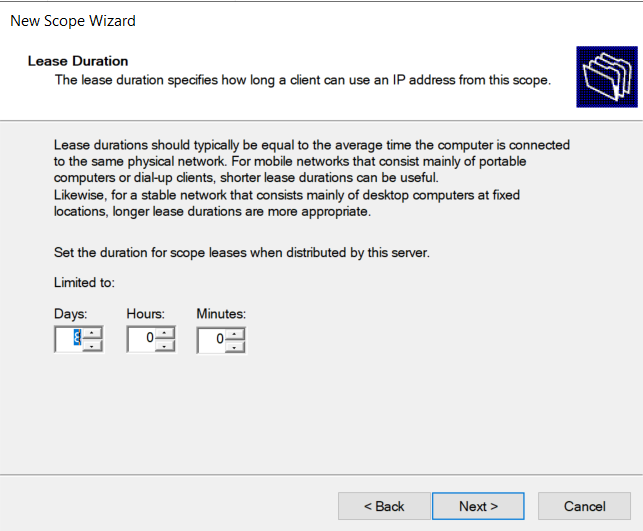
Set the lease time. Lease time means the duration for which IP address will be assigned to the workstation machine. By default it 8 days. However you can change it if needed. Click next.
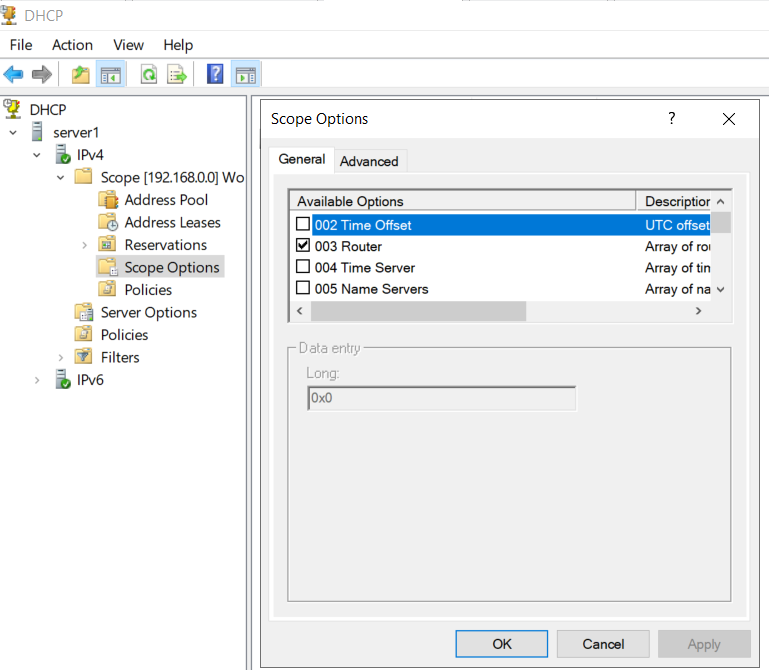
System will ask you to configure some advanced options. You can do it later. But we will configure them now.

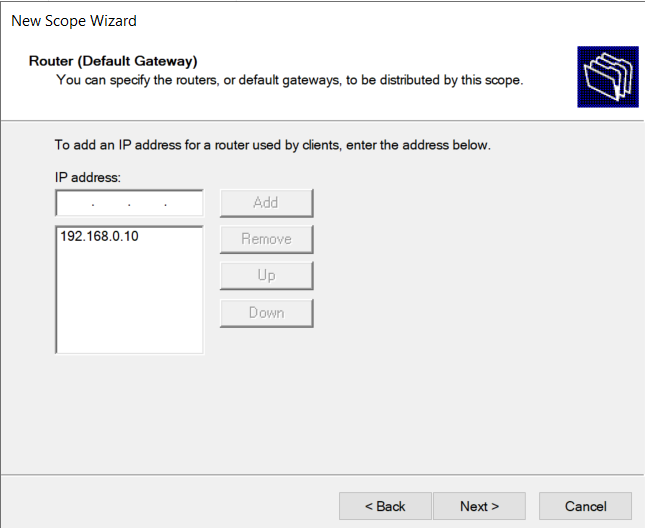
In our example it will ask the default gateway (router IP). In our case its 192.168.0.10. Type the IP address. Then click add button and next.
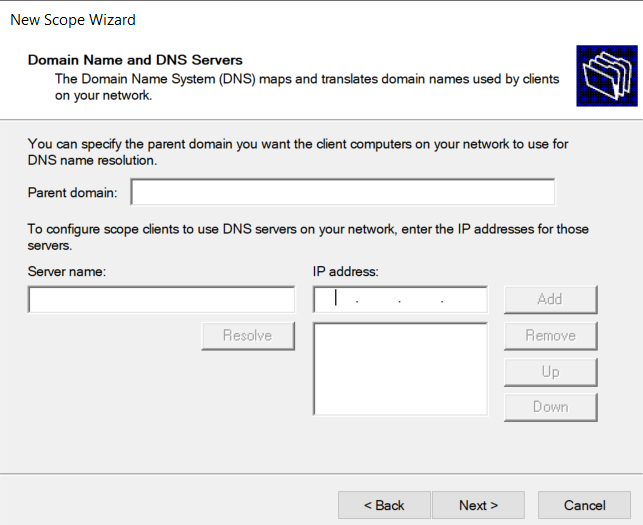
Now it will ask for DNS server. Since we’ve not configured DNS yet. Lets leave it blank and click next. If you have a DNS server ready please add it.
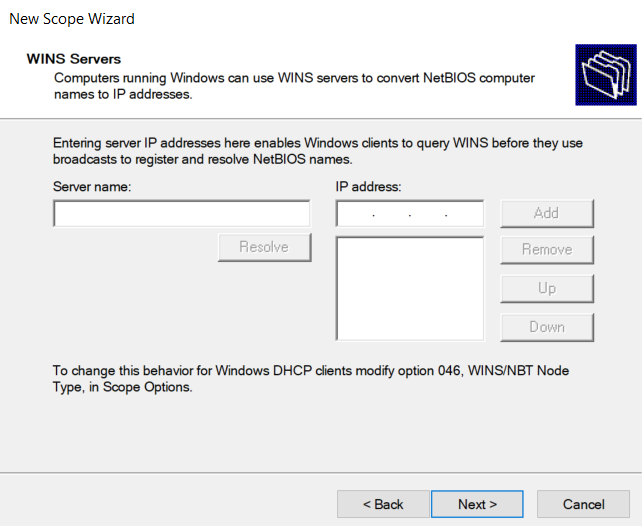
Similarly we are skipping Wins server. If you have one in your network, please add it and click next.
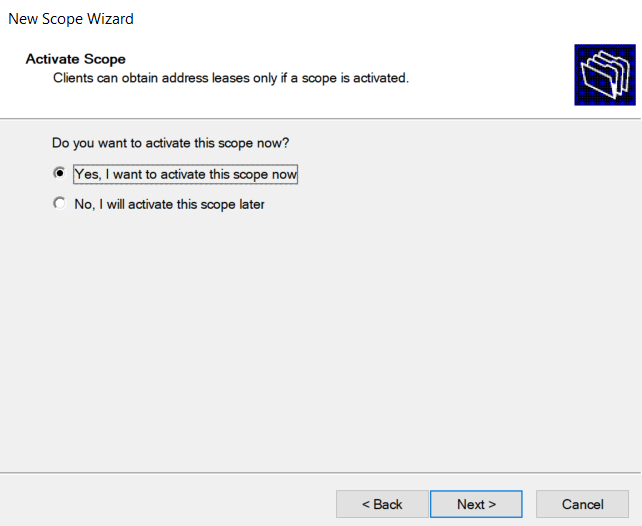
Select the option “Active scope now”. Click next.
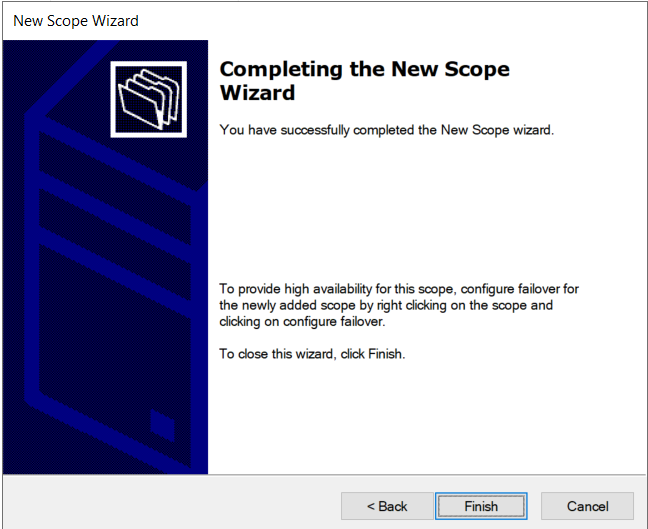
Click finish and your DHCP server is ready.
Your DHCP pool and ready to distribute the IP addresses.
Workstations settings
Workstation machine network card must be setup for a dynamic IP address. So make sure to select “Obtain and IP address automatically” on workstation.
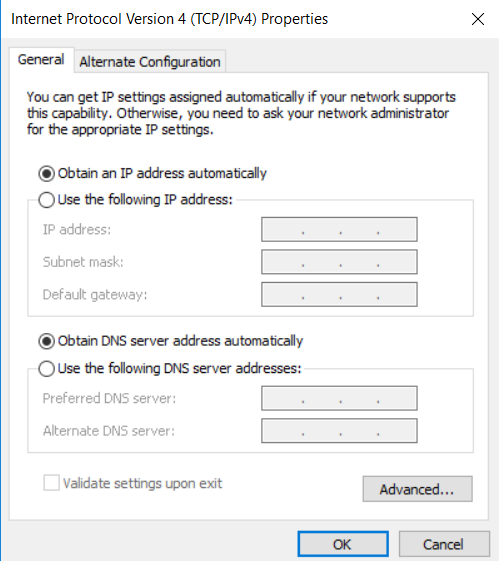
Once you configure it to automatic IP addressing. Finally workstation will obtain the IP from the IP pool we defined in DHCP server.
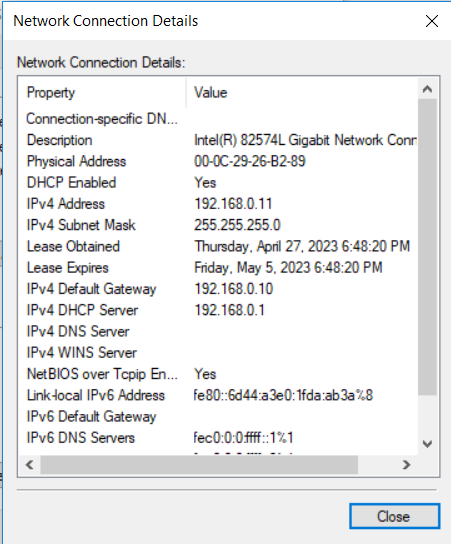
If DHCP server is well configured and client settings are fine along with network configuration, IP will be assigned properly. However there are case when you find some strange IP address like 169.254.X.X. This is APIPA or automatic private IP address. You can learn more about it in our article “APIPA Address 169.254“.
This is how you install and configure DHCP server. Please note IP address, subnet mask, default gateway, DNS and wins server are not the only options that you can configure through DHCP server. Also we have scope options and server options. The setting configured in scope options will be limited to the scope only. Any settings configure in Server options are global and applicable on all scopes.
-

DHCP Spoofing
DHCP or dynamic host configuration protocol is responsible for IP assignment in the network. DHCP spoofing is a type of…
-

APIPA Address 169.254
Have you ever seen IP address 169.254.X.X appearing on your computer network card. Full form of APIPA is automatic private…


Leave a Reply