Systems administrators frequently install windows server in their professional life. All the versions of Windows server have similar process when it comes to installing server with some minor changes depending on the version. In this example we are using Windows server 2019 standard edition with desktop experience (graphic user interface). Since this is a beginner guide for windows administrators, we will be using simpler options. You can also use server core installation (Non GUI mode) if you want to. We strongly advise to download the latest official software media from Microsoft official website every time you need to install Windows operating system. Below is the link for download. Always use licensed product. You can use the link “Download Microsoft Windows Server 2019“. Now burn it on a USB/DVD drive using third party tools. Lets learn threes setups to prepare your Windows Server 2019.
- Boot from USB/DVD media.
- Install Windows Server 2019.
- Activate Windows Server 2019.
Boot from DVD/USB Media
Boot the system with server operating system media using DVD/USB.

Install Windows Server
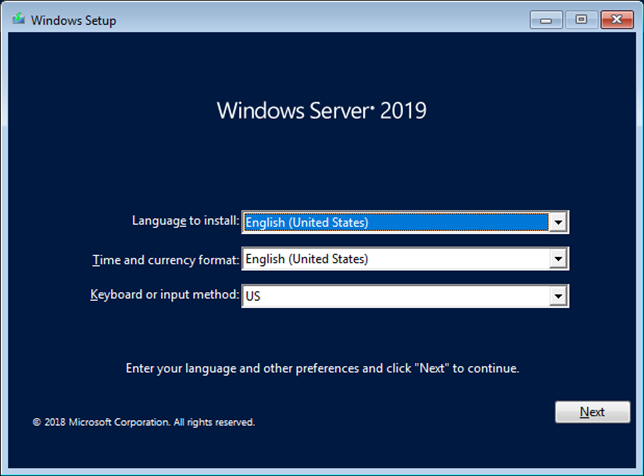
Select the language, time and keyboard settings and click next.
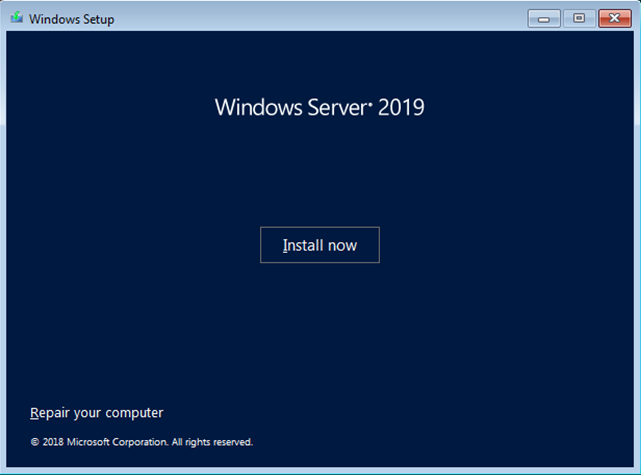
Click install now.
You will find a message setup is starting. Just wait for a while.

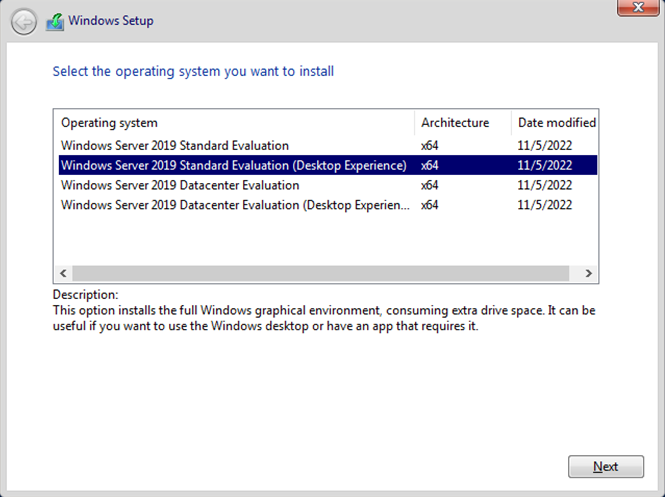
Select appropriate operating system and click next. You must use “Desktop Experience” if you want to use graphical user interface (GUI). Otherwise server core (Non-Graphical User Interface) will be installed. However if you are a advanced user and want to work on command line, you can use other options. (In this example we are going to use Desktop Experience)
Accept the license agreement and click next.

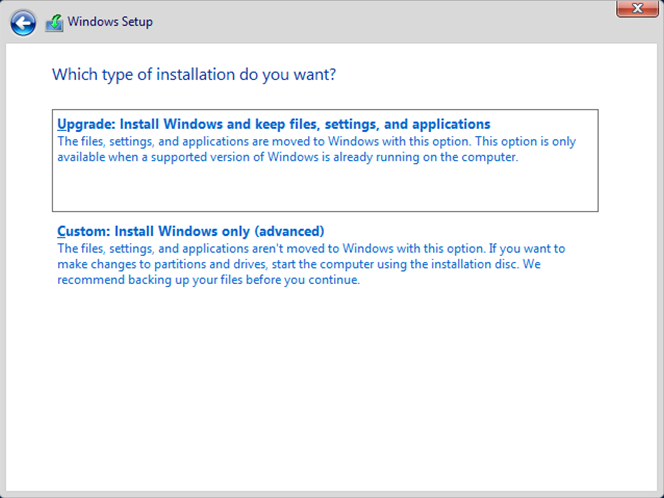
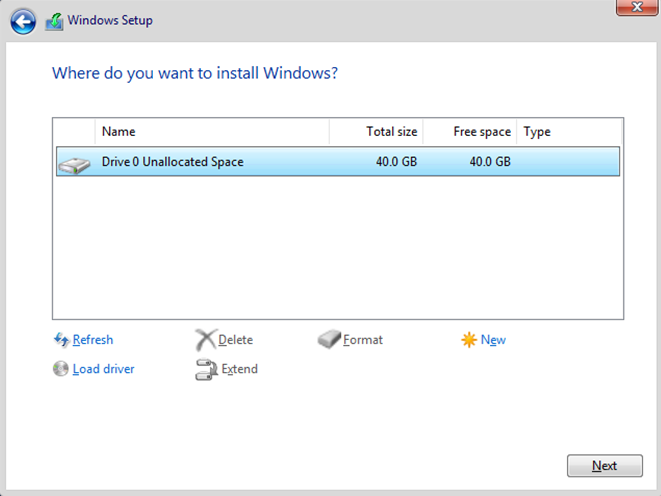
Select Custom installation second option.
Select the disk and click on new.
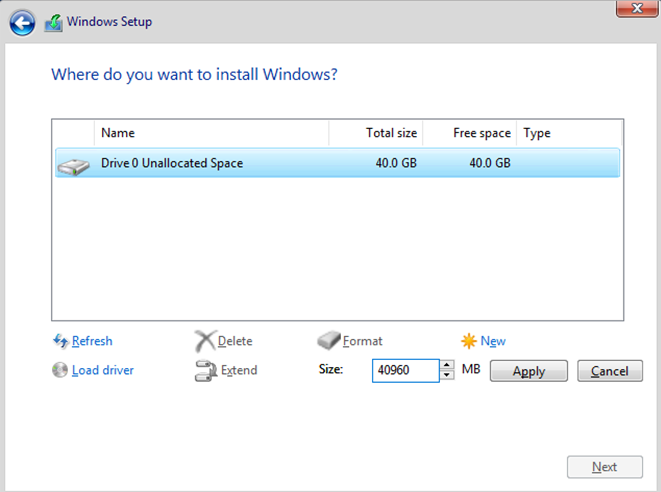
It will ask you to define partition size. Let’s keep it 40GB and click on apply. You can modify it as per your own requirements.
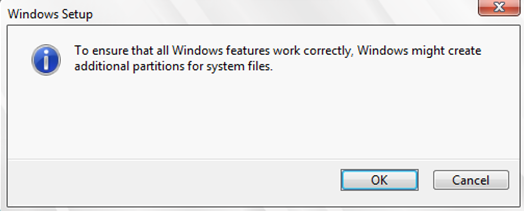
Following message will appear. Click OK.
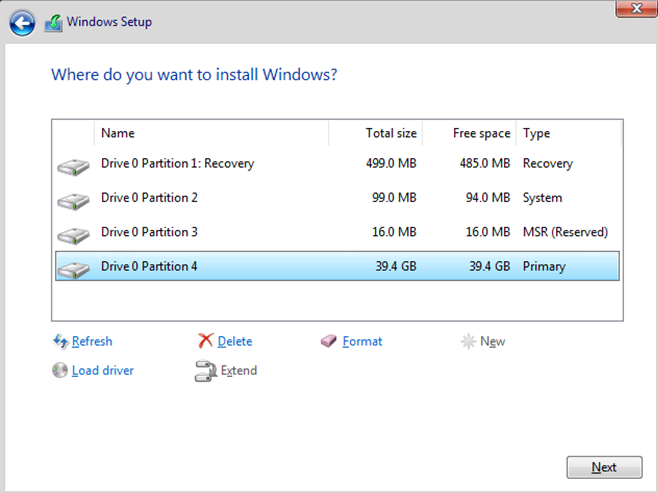
System will create some partitions automatically. Click OK. Select the appropriate partition for operating system and click next.
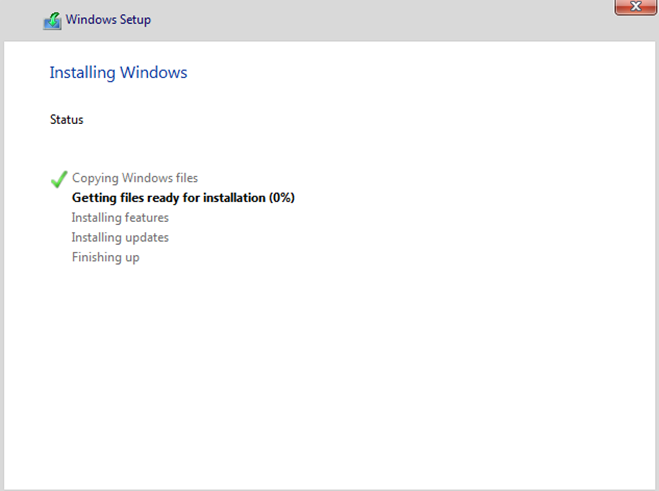
Installation will start in a while and take few minutes to complete.
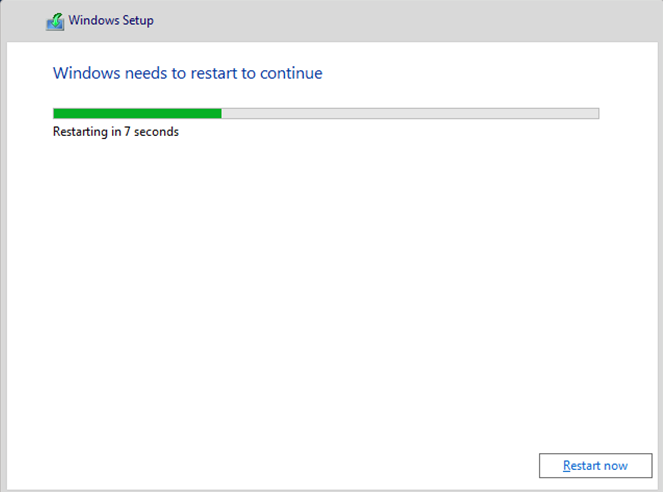
After a while system will restart automatically.
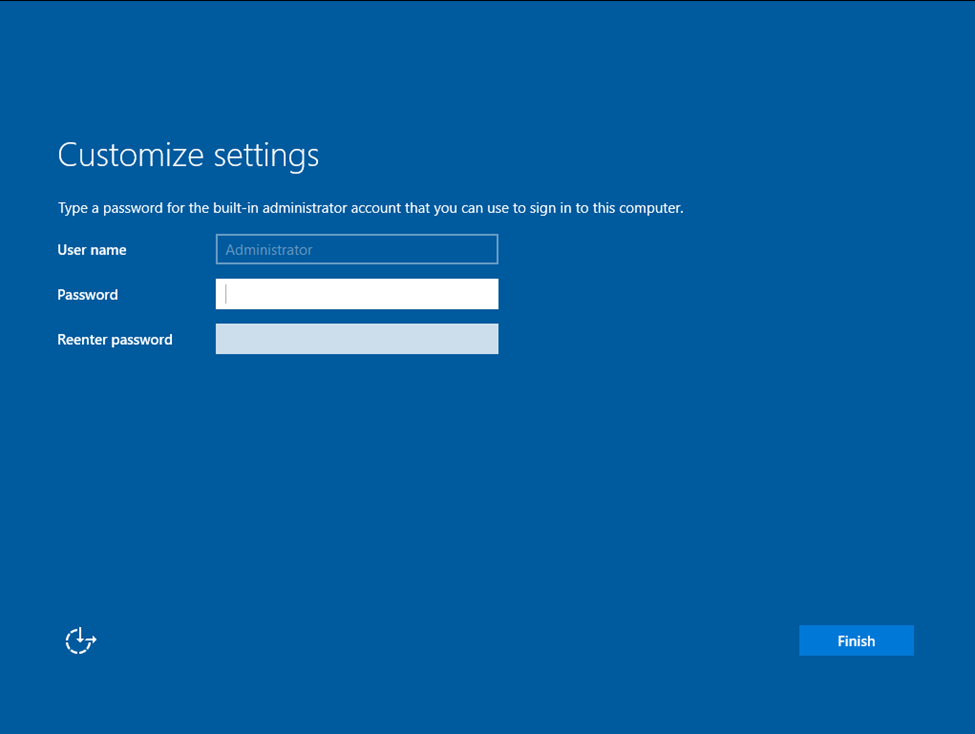
Set the windows administrator password and click finish.
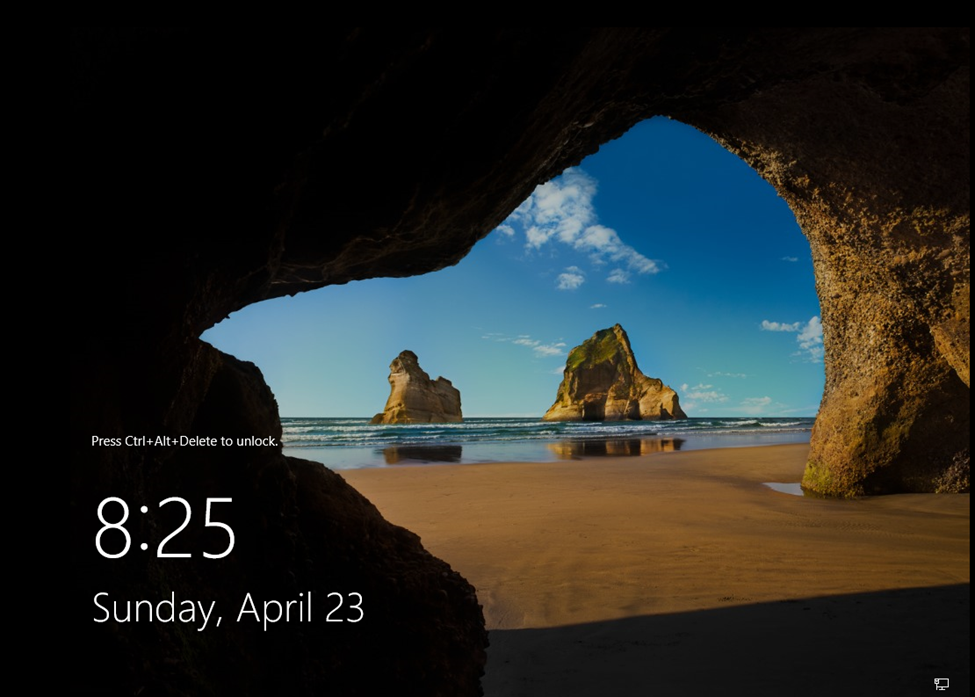
Your windows installation is successful and ready to use. Next press Ctr+Alt+Del keys, type your username and password to logon to Windows server.
Finally you understand the process how to install windows server. Further if you want to understand the step by step process of Windows 10 installation, please have a look on our article “How to install Windows 10“.
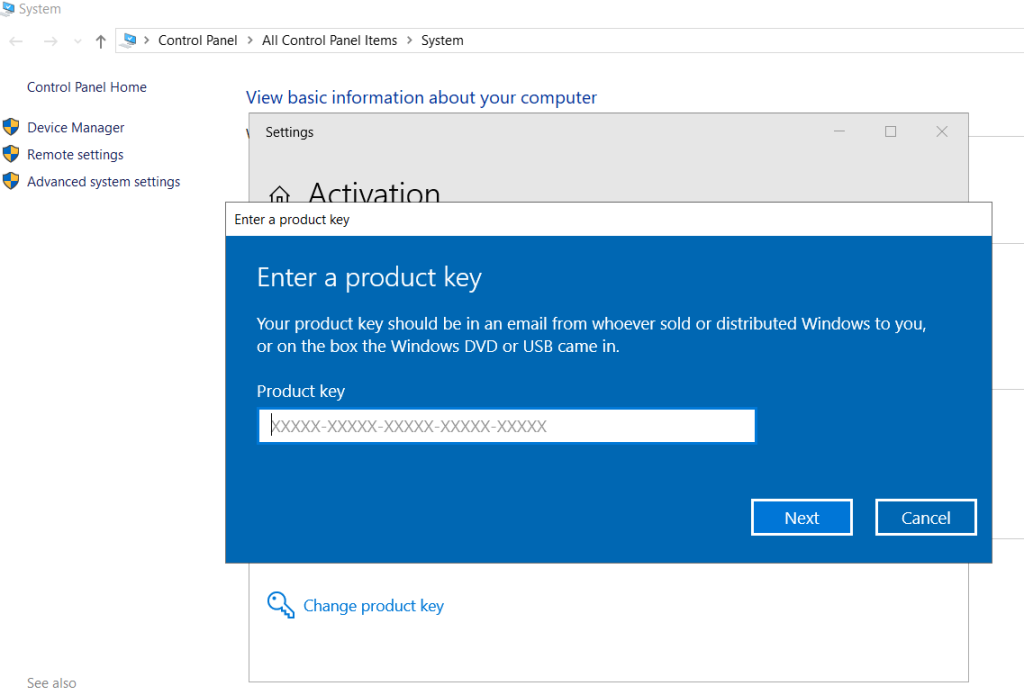
How to Activate Windows Server
Once your Windows Server 2019 is installed. You can use following steps to activate your Windows.
- Open My Computer.
- Click on Activate Windows.
- Click on change product key.
- Enter the 25-character code product key you have obtained from Microsoft.
- Click next and activate.
Frequently Asked Questions (FAQ)
Server core installation is command line Windows server for administrator’s and advanced users only.
If you have not purchased a license key, server trial edition will work fine for 180 days.
Answer to this question is long. Standard edition does not support software defined networking, have different limitations on storage replica, Hyper-V, network controller etc.
-

Resize Partition Windows 10/11 or Server
Learn how to resize partitions on Windows 10, 11 or Server with simple steps to optimize disk space and performance.
-

Install DNS Server In Windows
Before we install DNS server, its essential to understand what exactly a DNS service is? A Windows DNS server is…


Leave a Reply